


HarperDB is a distributed database focused on making data management easy. It supports both SQL and NoSQL queries. Besides building REST APIs with server-side technologies(Catalin Pit's Build A REST API With HarperDB and FastifyJS), it also offers to access the database instance directly inside the client-side application.
In this article, we'll learn how to set up the HarperDB Cloud instance & access it directly inside a React App.
Setting up HarperDB Cloud Instance
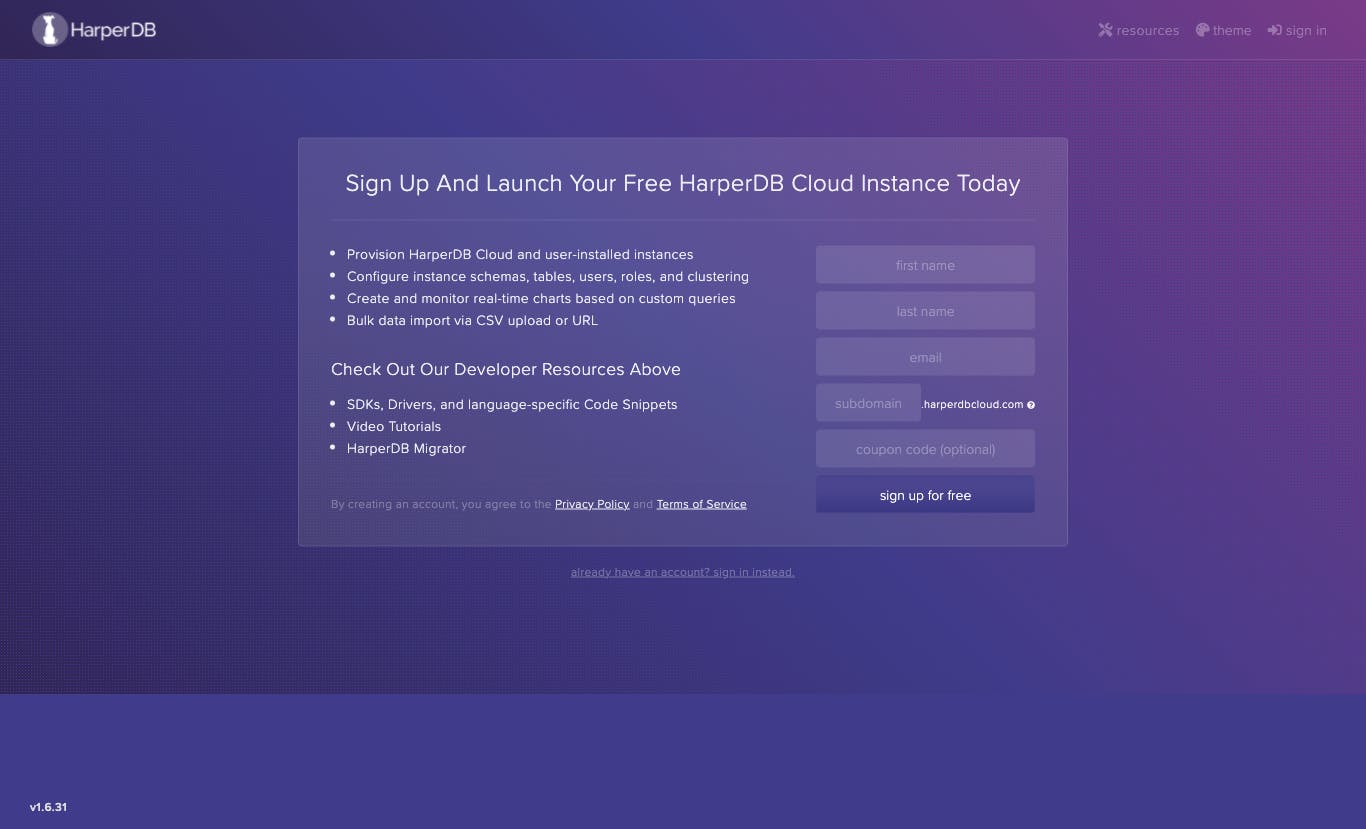
First, you need to Sign up for a free HarperDB Cloud instance:
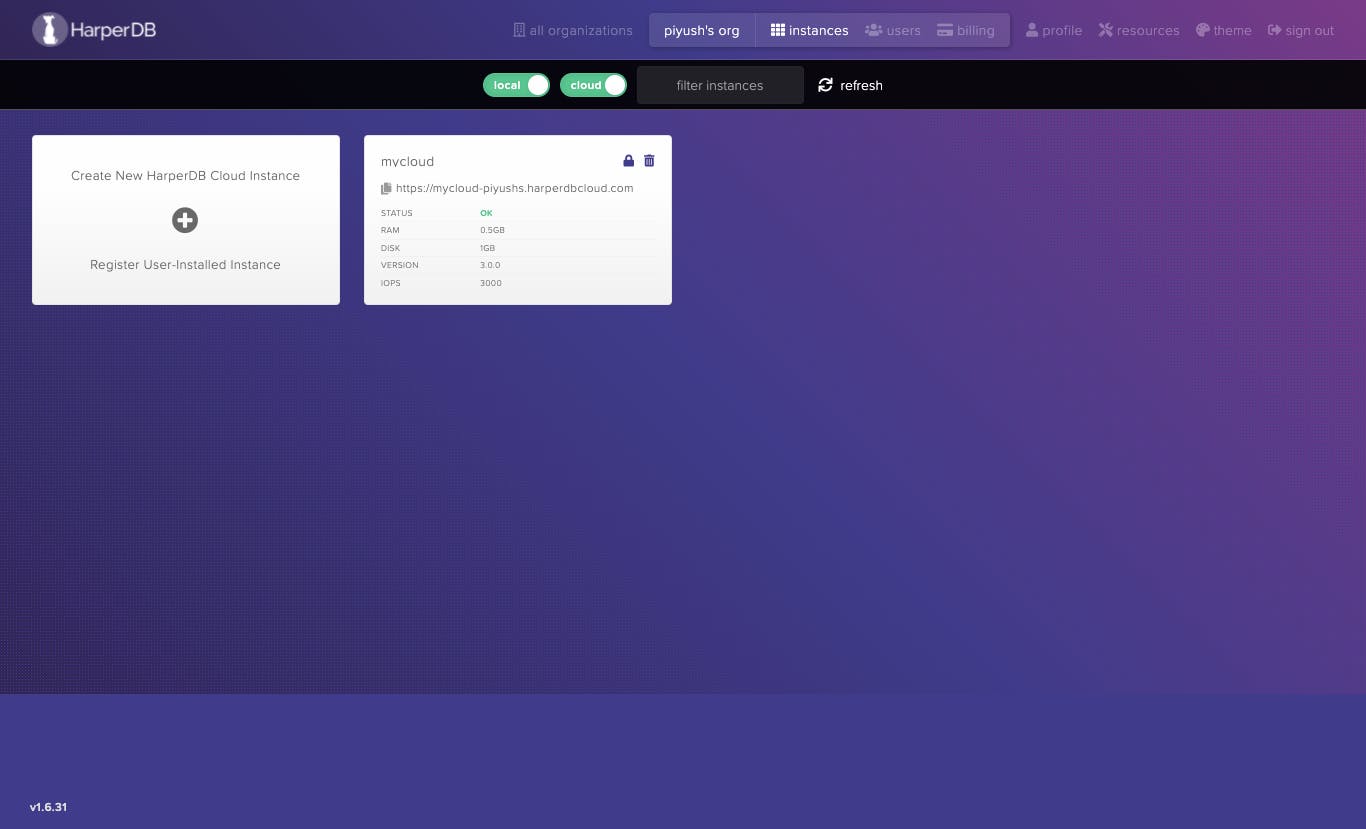
After signing up, you'll have the access to the dashboard below. To create a new instance, click on the + button:
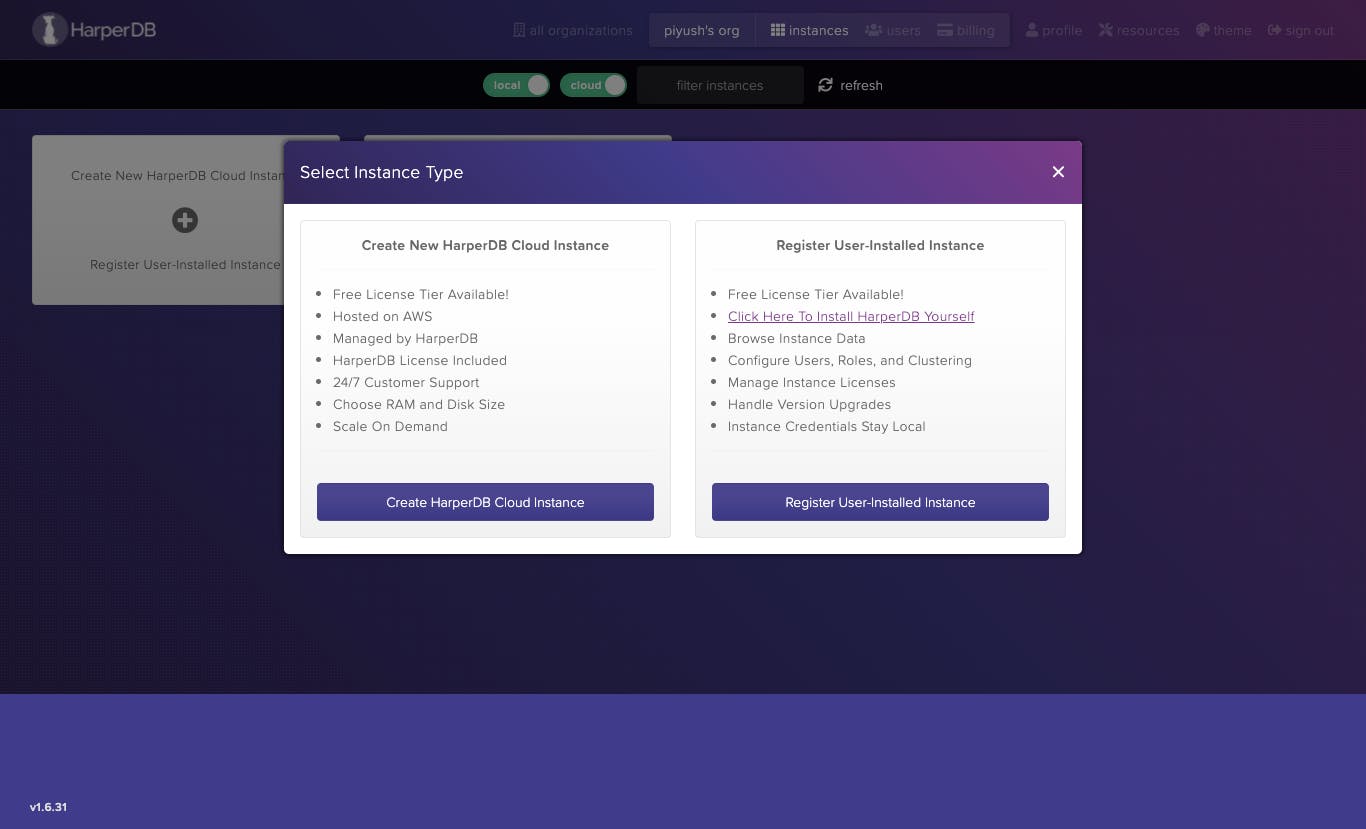
Next, click on Create HarperDB Cloud Instance:
Fill in the details regarding the instance:

Finally, select the Instance specs and confirm the details:

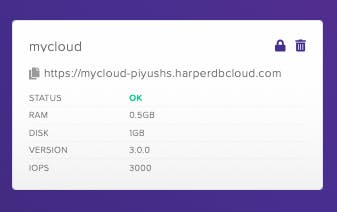
Once the instance is created, it will be added to the dashboard:
Click on the instance card and you'll be asked to add a schema:
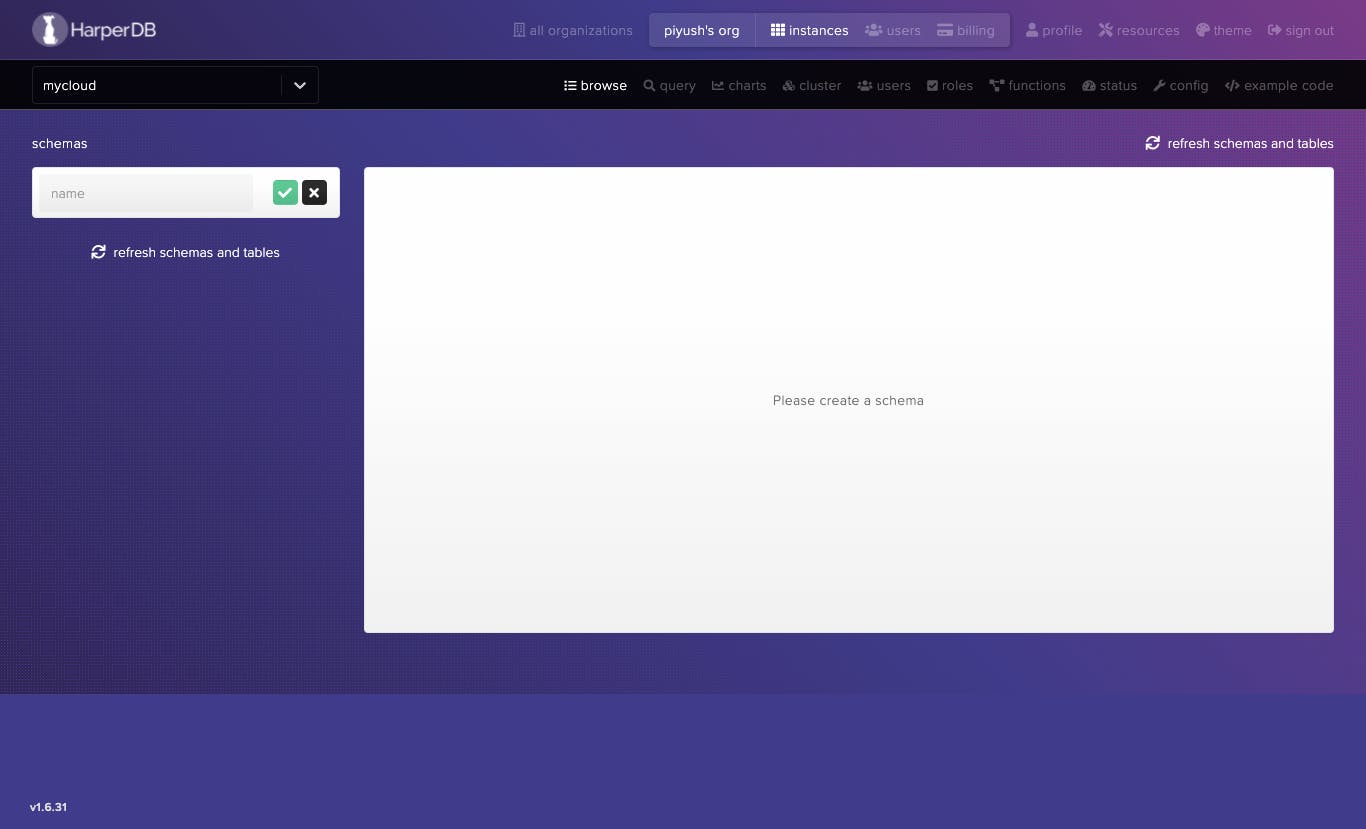
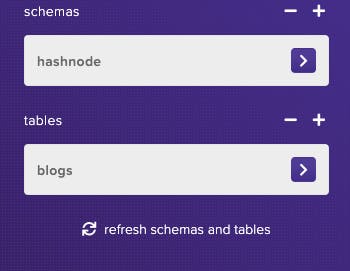
A schema is equivalent to a collection of tables. Without an existing schema, you cannot create a new table and without a table, you cannot add or update data from the HarperDB instance. Let's proceed with creating a schema and a table inside it.
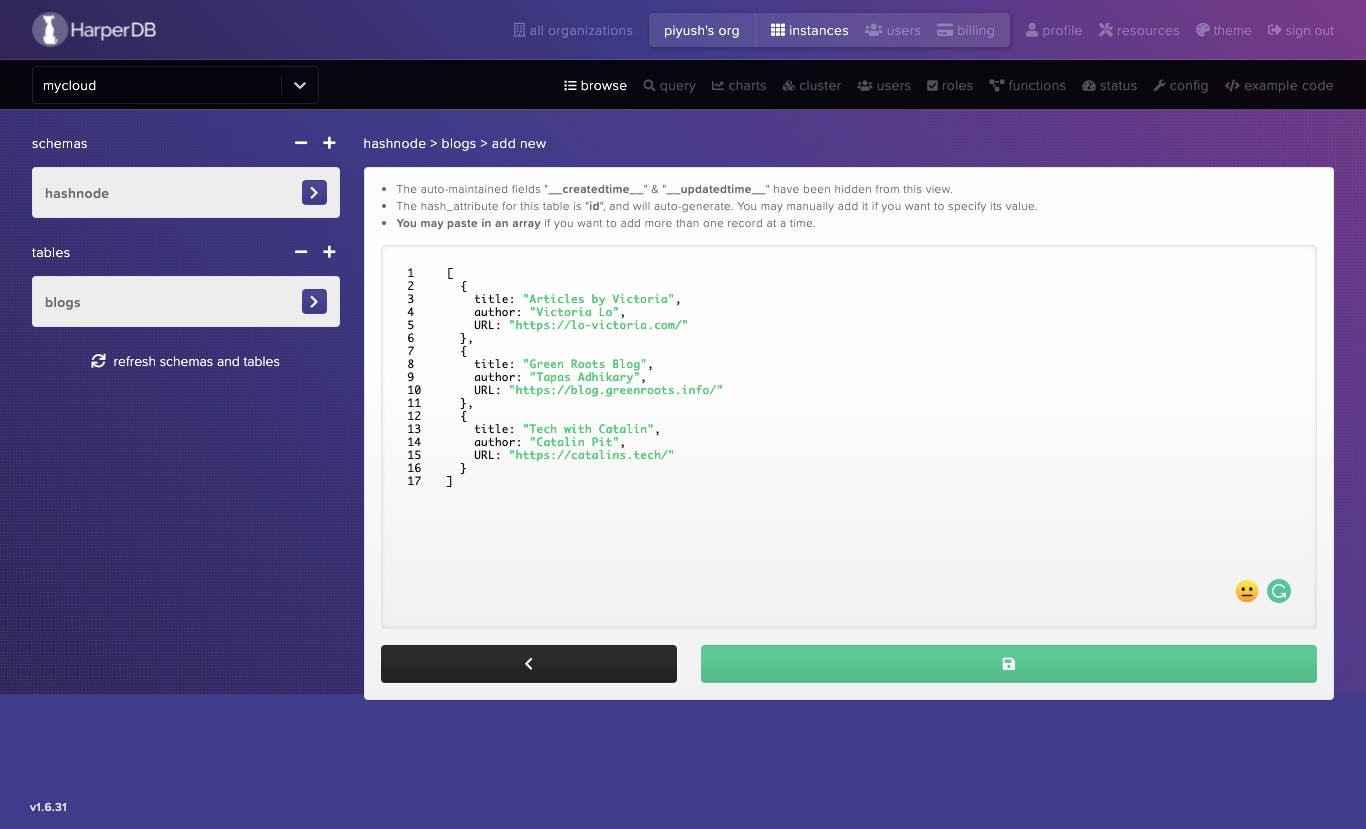
Adding new records to the table:
On saving, we have the records added:
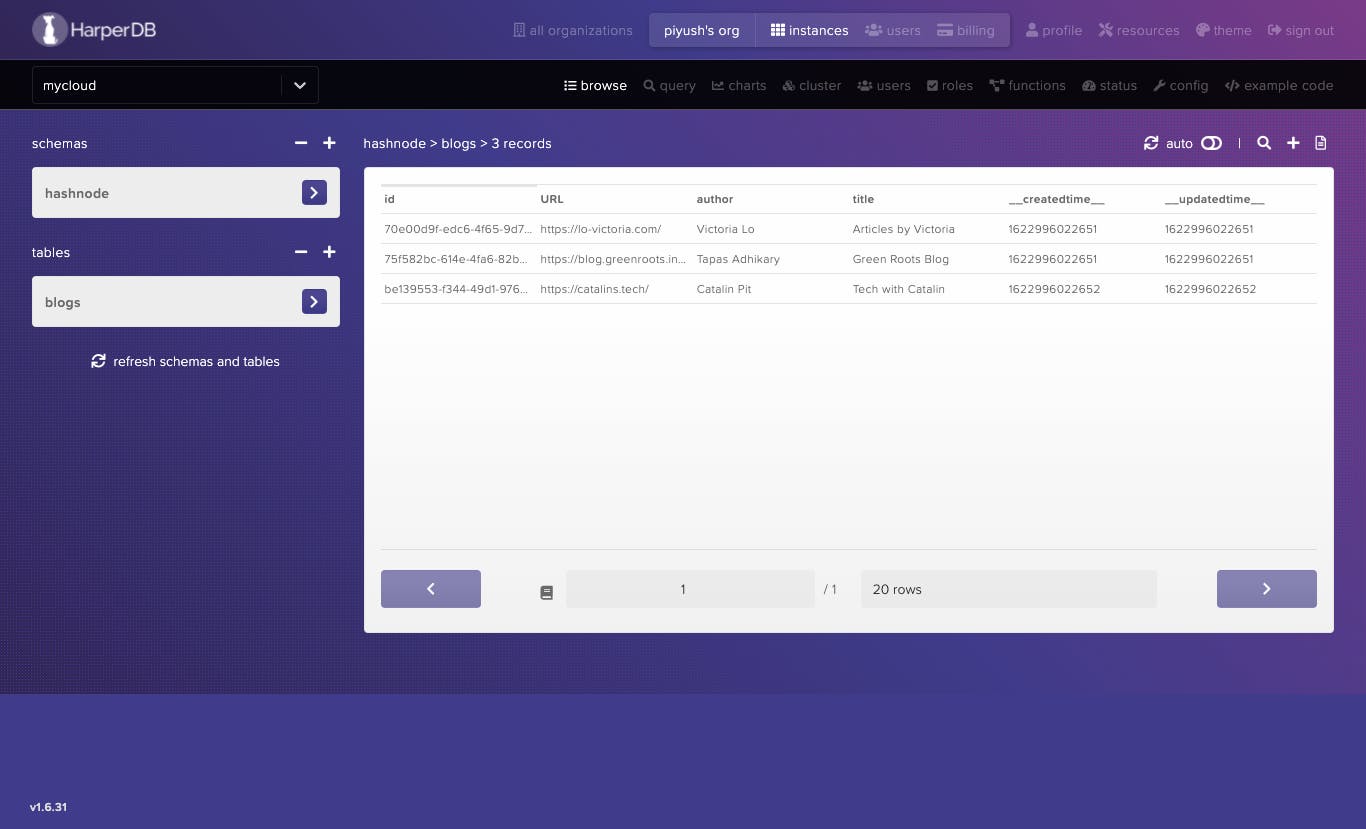
Note: The
timestampfields -__createdtime__and__updatedtime__are auto-generated by HarperDB.
Our instance is ready to be used in a client-side application.
Integrating HarperDB Cloud Instance in a React App
Setting up the React App:
npx create-react-app harperdb-react-demo
cd harperdb-react-demo
Install use-harperdb - a React Hook for accessing HarperDB:
npm i use-harperdb --save
Next, create a .env file at the root of the project with the following variables:
REACT_APP_INSTANCE_URL=[Cloud Instance URL]
REACT_APP_USER=[username]
REACT_APP_PASSWORD=[password]
Now, wrap the App component with the provider -HarperDBProvider and provide the needed attributes - url, user and password:
import React from "react";
import ReactDOM from "react-dom";
import "./index.css";
import App from "./App";
import reportWebVitals from "./reportWebVitals";
import { HarperDBProvider } from "use-harperdb";

ReactDOM.render(
  <React.StrictMode>
    <HarperDBProvider
      url={process.env.REACT_APP_INSTANCE_URL}
      user={process.env.REACT_APP_USER}
      password={process.env.REACT_APP_PASSWORD}
    >
      <App />
    </HarperDBProvider>
  </React.StrictMode>,
  document.getElementById("root")
);

// If you want to start measuring performance in your app, pass a function
// to log results (for example: reportWebVitals(console.log))
// or send to an analytics endpoint. Learn more: https://bit.ly/CRA-vitals
reportWebVitals();
Create a child component say - Bloggers.js and this is where you'll access the data. To get the data, you need to make a call to useHarperDB hook with the query object.
The SQL query - select * from hashnode.blogs will get all the records inside the table blogs belonging to the hashnode schema. The hook returns an array with elements - data, loading, error, refresh. Use destructuring to unpack the values:
import React from 'react';
import { useHarperDB } from 'use-harperdb';

function Bloggers() {
    const [data, loading, error, refresh] = useHarperDB({
        query: { operation: 'sql', sql: `select * from hashnode.blogs` },
      });

    return (
        <h2>Bloggers</h2>
    );
}

export default Bloggers;
Let’s work on displaying the data and handling loading & error:
import React from 'react';
import { useHarperDB } from 'use-harperdb';
import './Bloggers.css';

function Bloggers() {
    const [data, loading, error, refresh] = useHarperDB({
        query: { operation: 'sql', sql: `select * from hashnode.blogs` },
      });
    if (loading) {
        return <div>Loading...</div>
    }

    if(data && data.length > 0) {
        return (
            <>
            <table>
              <thead>
                <tr>
                  <td>Title</td>
                  <td>Author</td>
                  <td>URL</td>
                </tr>
              </thead>
              <tbody>
                {data.map((blog) => {
                  return (
                    <tr key={blog.id}>
                      <td>{blog.title}</td>
                      <td>{blog.author}</td>
                      <td>
                         <a href={blog.URL}
                          target='_blank'
                          rel="noreferrer">
                             {blog.URL}
                         </a>
                       </td>
                    </tr>
                  )
                })}
              </tbody>
            </table>
            <button onClick={refresh}>Refresh</button>
          </>
        );
    } else {
        return (
            <div>
              {error}
            </div>
          )
    }
}

export default Bloggers;
Let's walk through the above code:
- if
loading: rendered adivwith loading text. - if
dataexists & the returned array isn't empty: rendered the data in a tabular form. - if
error: rendered the error. - if clicked on
Refresh, data will be fetched again.
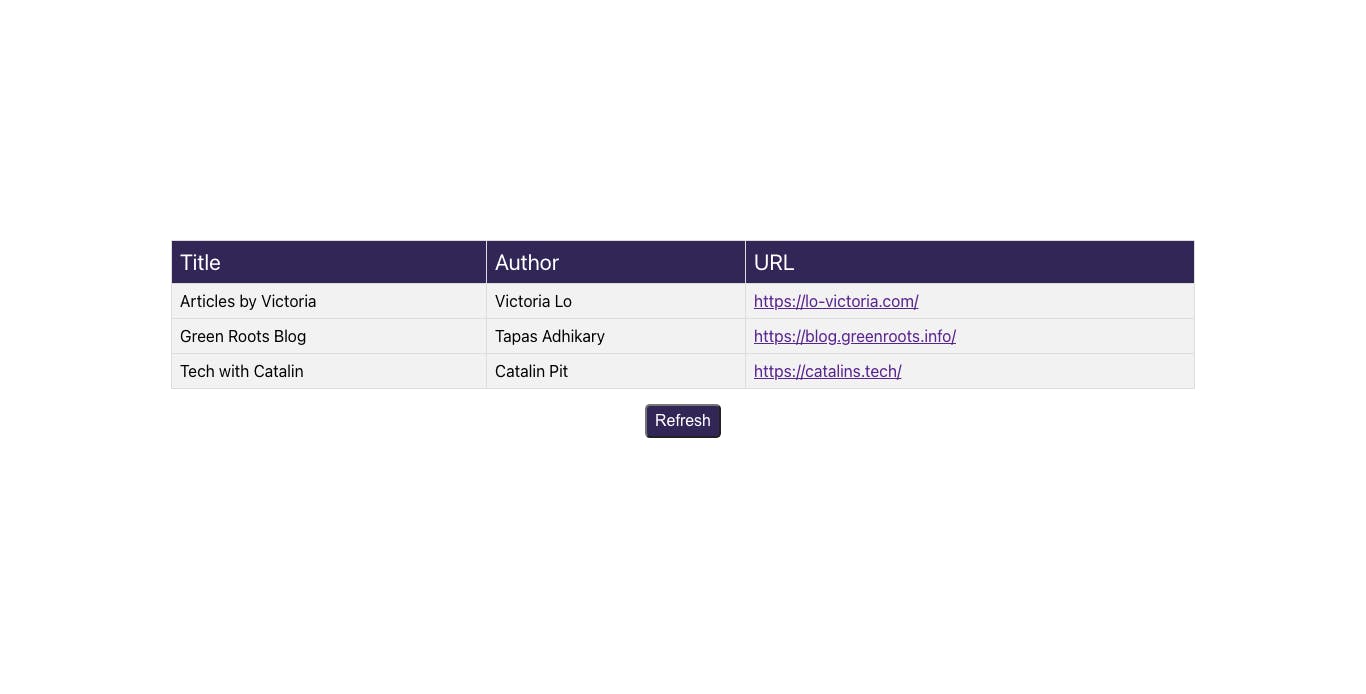
And after adding some basic styles, this is what we get:
You can also enable auto-refresh feature by simply passing the second property interval in the object passed to the hook:
const [data, loading, error, refresh] = useHarperDB({
        query: { operation: 'sql', sql: `select * from hashnode.blogs` },
        interval: 5000
      });
Now, there will be a refresh after every 5 seconds. That's all for this article.
Conclusion
The objective of this article was to learn how to set up the HarperDB Cloud instance & access it directly inside a React App using the use-harperdb hook. Hope you find it useful for the ongoing hackathon.